Ray Tracer - Part 2
After the previous part, I’ve implemented lots of features and refactored my code a lot!
Here are the things I’ve implemented:
Anti-aliasing
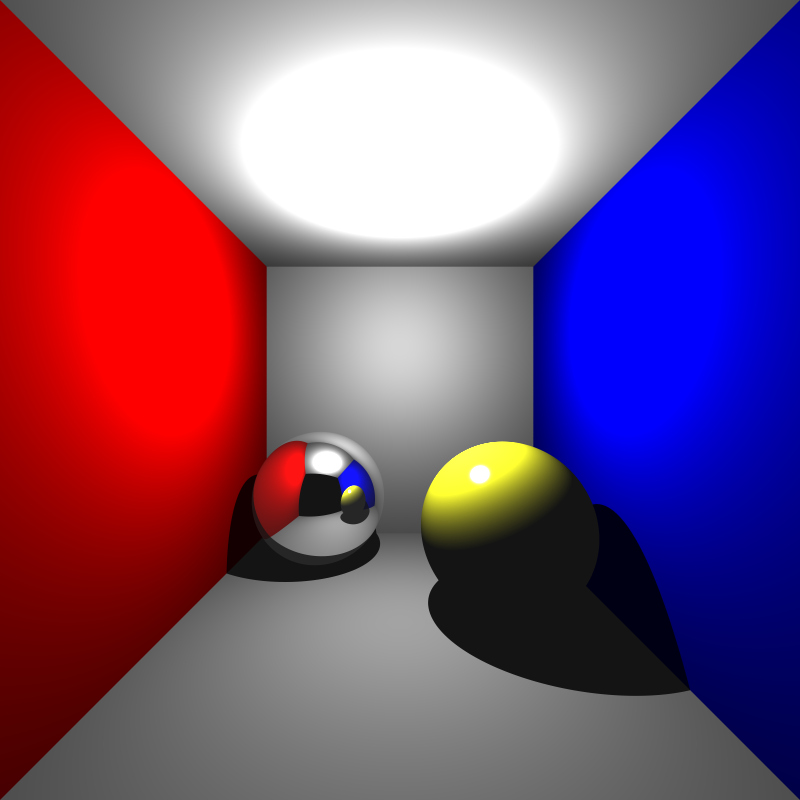
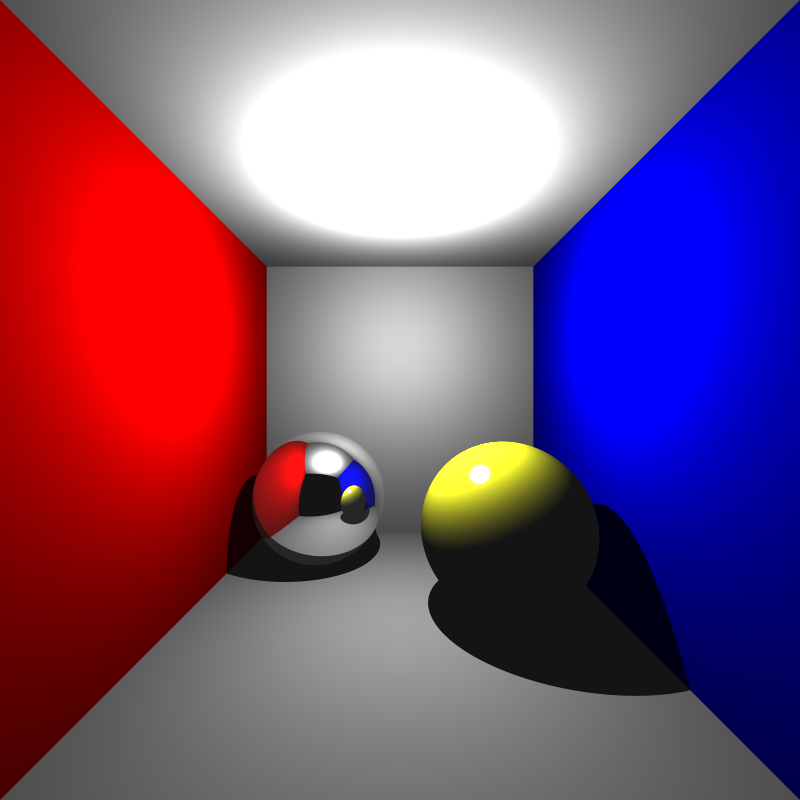
I’ve used jittered sampling to implement anti-aliasing functionality. Implementing it was not hard, but the results are amazing. Renders look much better now!
cornellbox_16spp: 16 samples per pixel
cornellbox_32spp: 32 samples per pixel
Bounding Volume Hierarchy
This is the most complicated and challenging part for me to implement. I’ve done lots of tiny optimizations to my code previously. To implement BVH, I had to refactor my code a lot, and I did it. Eventually, I get the performance increase I needed for a long time. I’ve used Peter Shirley’s ray tracing materials, which helped me a lot when I’m not sure about some design choices.
PLY Parsing
I’ve done a quick research about ply parsers, and tinyply looked the best for me because they claim their parser is fast! I get their parser, integrated it into my ray tracer. It worked quite well for some models, but for some, it didn’t. Then I realized that tinyply is not supporting variable length lists in ply’s! I need to change my parser or find another solution for reading variable length lists in ply’s.

Smooth Shading
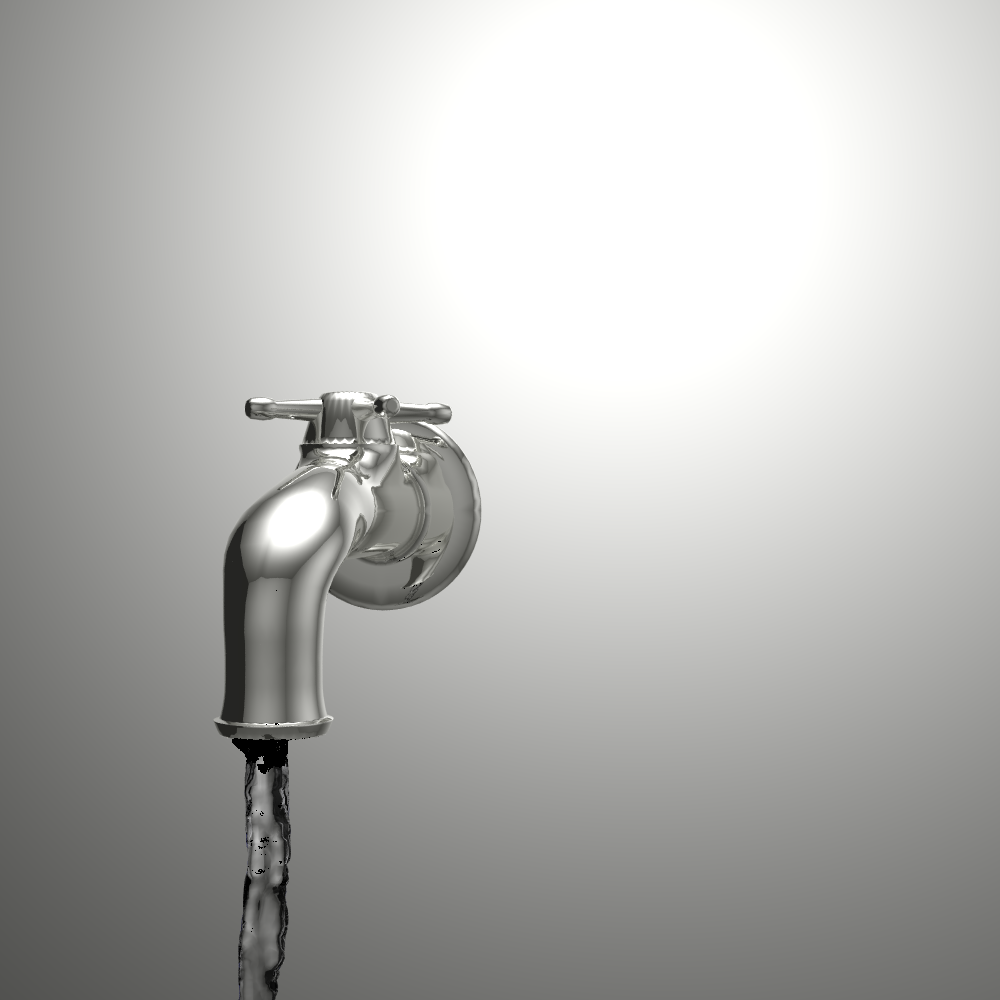
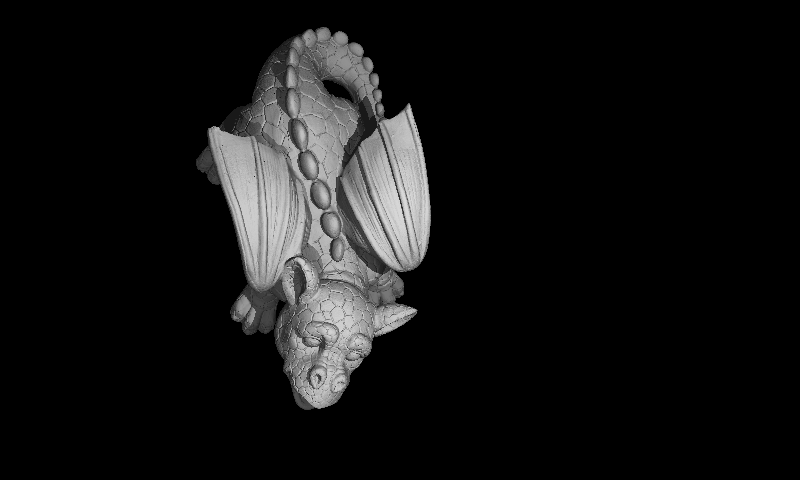
To get smooth shading effect, I’ve used Gouraud shading. To implement, I needed to calculate vertex normals of each vertex. To make the footprint of each “triangle” object smaller, I did not add parser related data (which is redundant at rendering phase) to the triangle objects. I’ve created a new object type, which is ParserTriangle, just for making calculations at the parsing stage. I’ve used it for calculation of normals of each triangle. Then, using that normals, calculated vertex normals of each vertex.
I have some glitches in this image, probably because of my parser. I’ll investigate further.

Depth of Field and LookAt Camera
With the thin lens camera model and multisampling capability, implementing depth of field was not too hard. Fine-tuning aperture size and focus distance from xml was like shooting a photo using a DSLR camera :)
Now, I have LookAt camera, which is actually a thin lens camera model. This is a really handful feature because it makes it easier to set camera parameters by hand. After implementing it, I get just plain black outputs, which made me think I was calculating the camera gaze in the wrong way. After the investigation for long hours, I realized that I forget to set material_id for meshes!
cornellbox_lookat_100spp: 100 samples per pixel
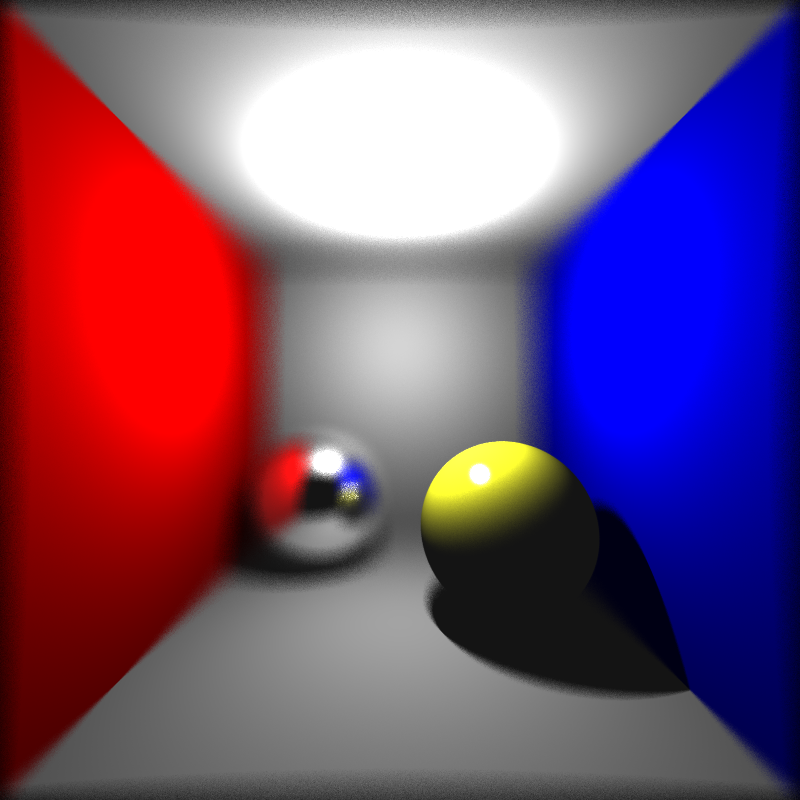
cornellbox_lookat_1000spp: 1000 samples per pixel
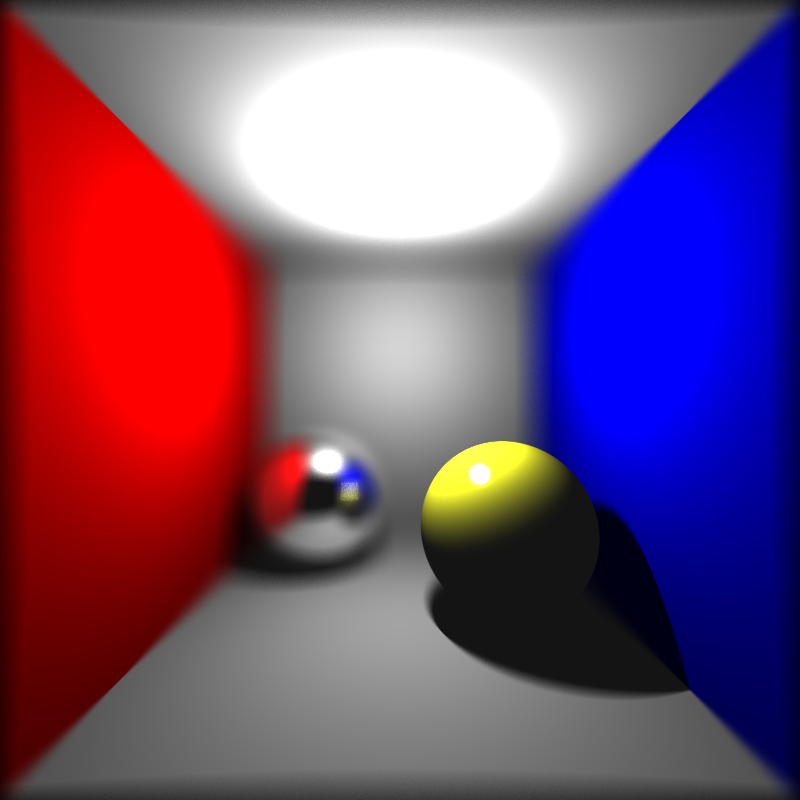
cornellbox_lookat_fov_100spp: 100 samples per pixel
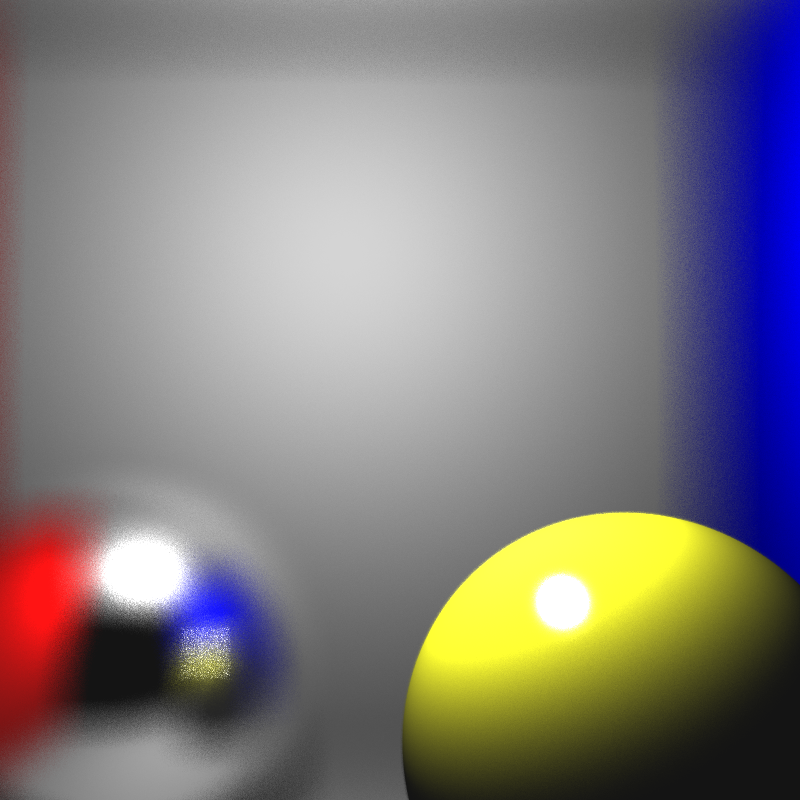
Other than implemeting new features, I refactored my code a lot, discovered new GCC flags to increase performance, fixed memory leaks…
Ongoing work
Textures, transformations and more!